The Brains of the Operation: Microcontrollers vs Microprocessors
Arduino or Raspberry Pi? Microcontroller or microprocessor? This guide explains the difference, when to use each, and how to choose for your first robot project.
One of the first questions every new robotics builder faces is: “Should I use an Arduino or a Raspberry Pi?” The answer depends on understanding what each one actually is — and they’re quite different things.
What is a microcontroller?
A microcontroller (MCU) is a small computer on a single chip. It has a processor, memory, and programmable input/output peripherals all built in. The key characteristic of a microcontroller is that it runs a single program, continuously, in a tight loop.
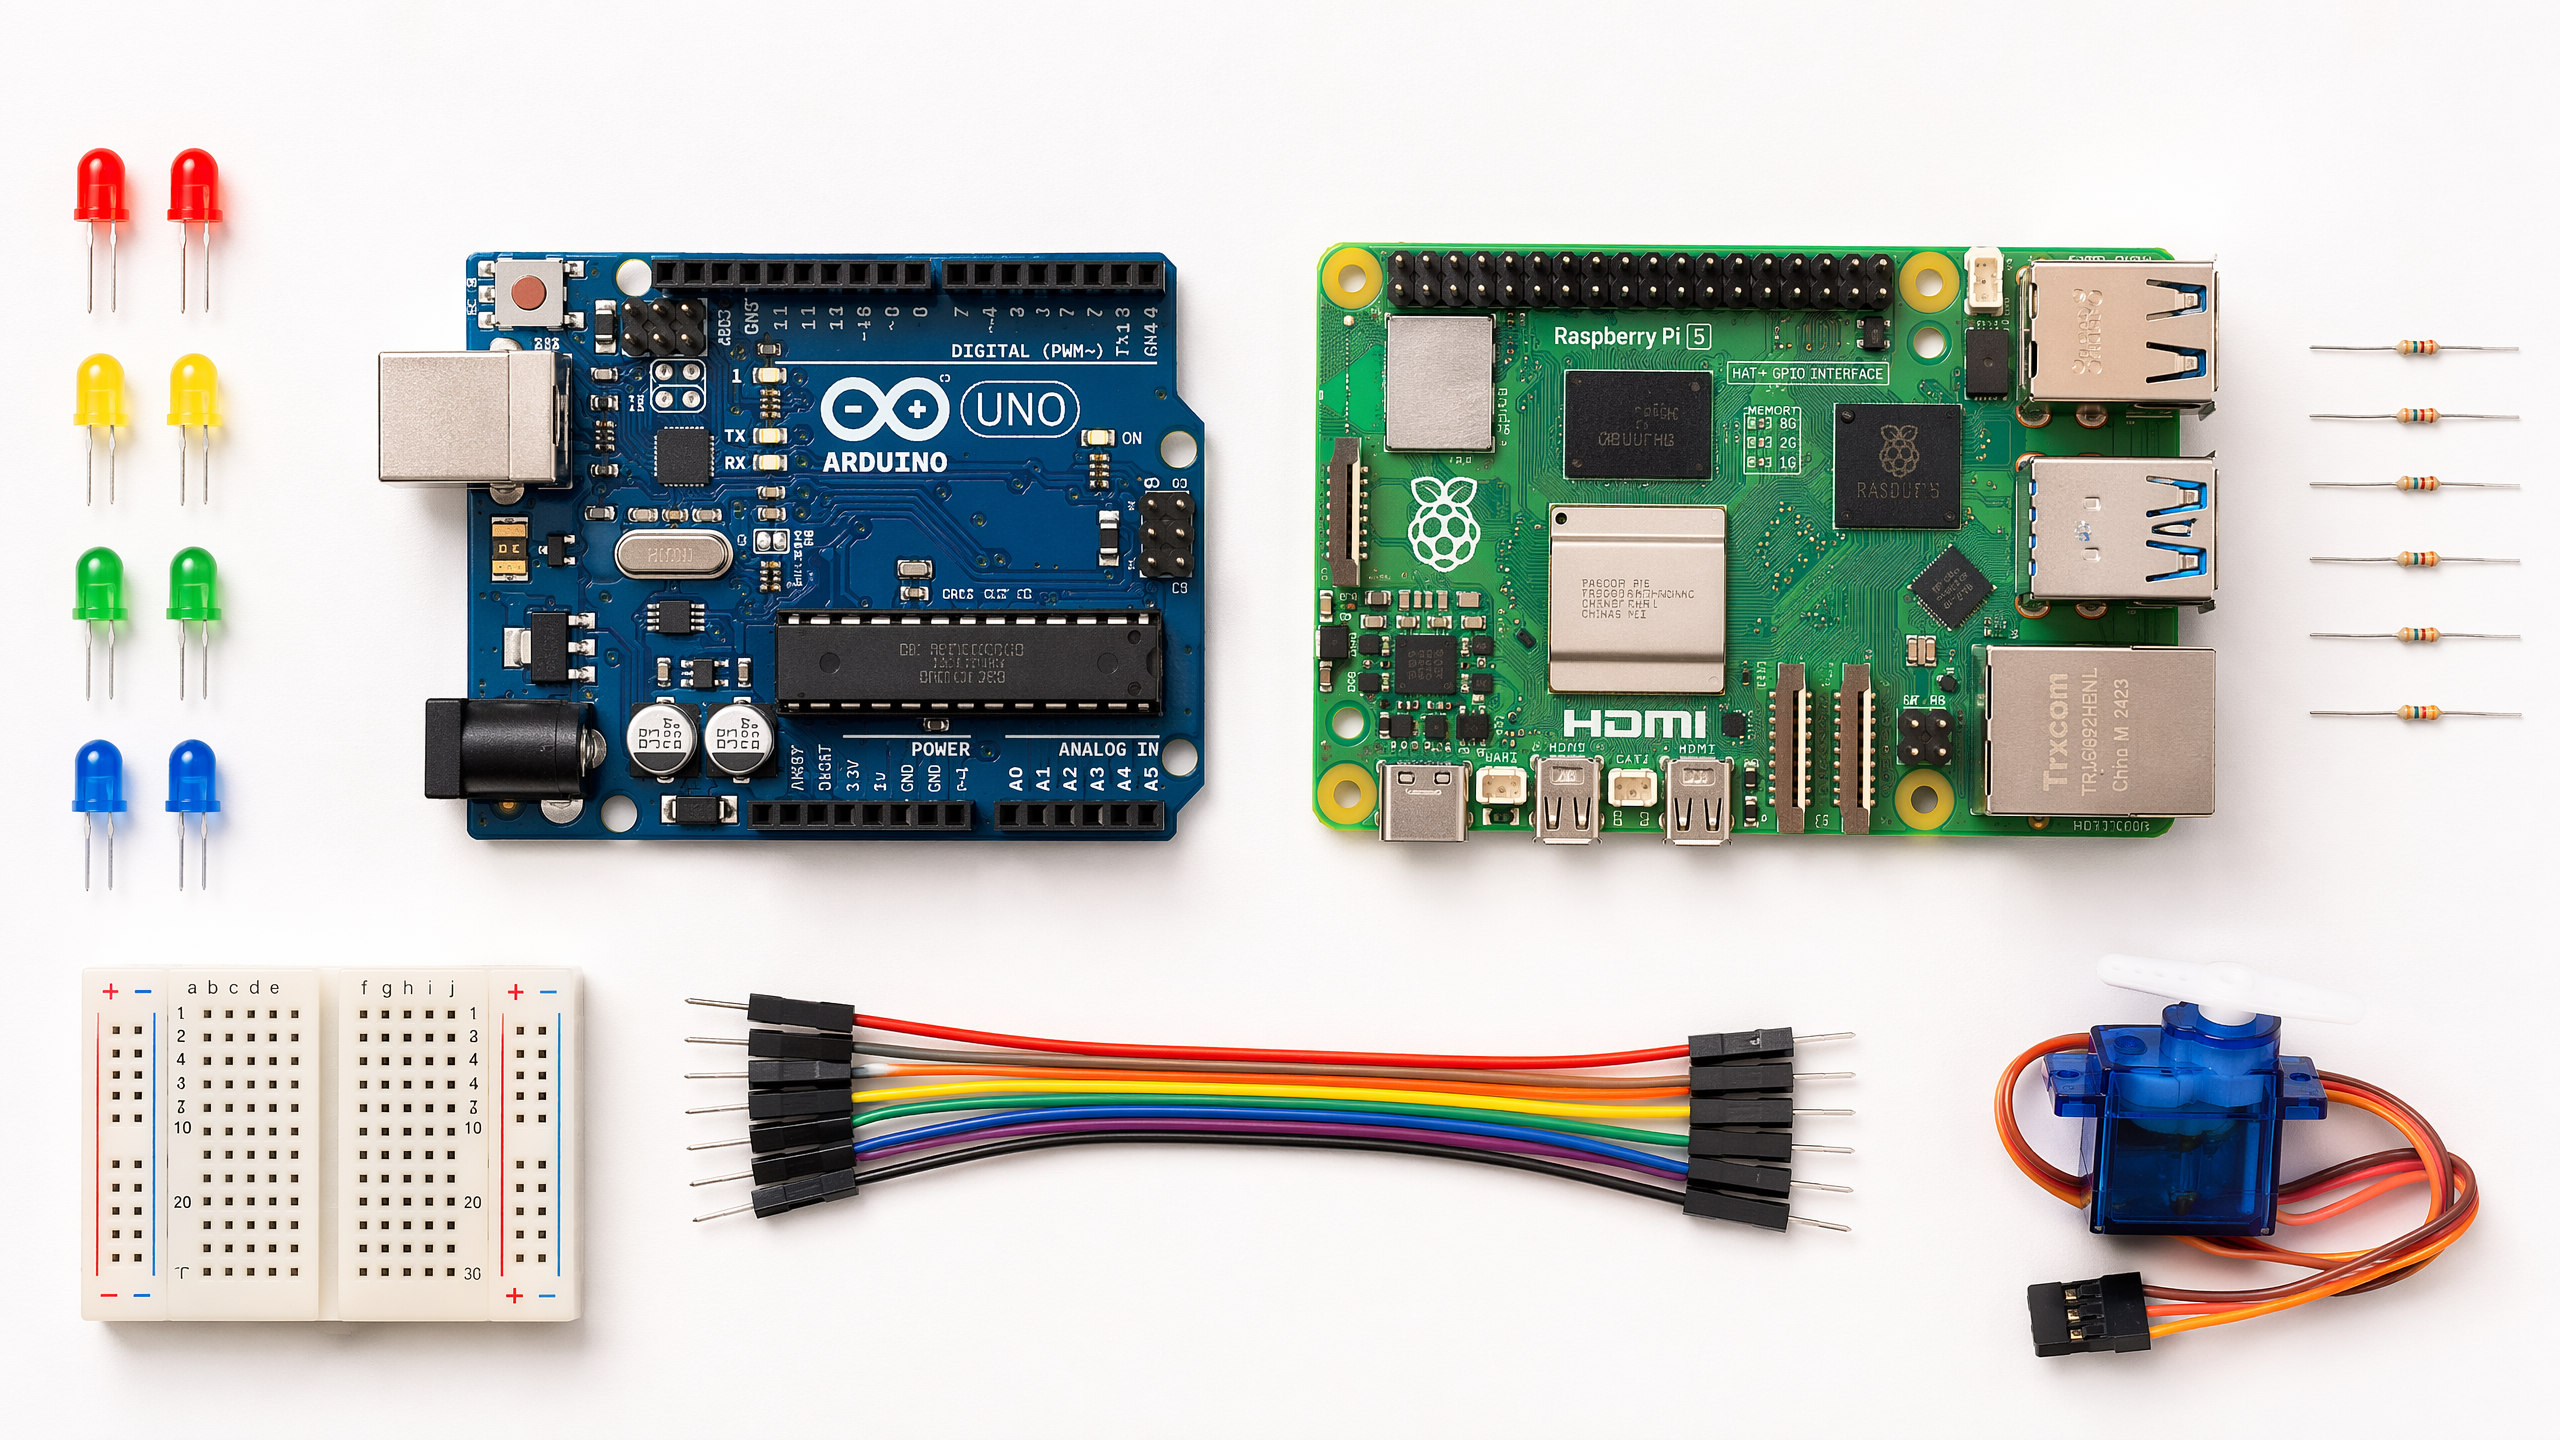
The Arduino Uno is the classic example. When you upload code to an Arduino, it runs that code — and only that code — from the moment it powers on. There’s no operating system, no file system, no multitasking. This simplicity is a feature, not a limitation.
Why this matters for robotics: microcontrollers are excellent at tasks that require precise, real-time timing. Reading a sensor every 10 milliseconds, generating a PWM signal to control a motor, responding to an interrupt within microseconds — these are things microcontrollers do reliably and predictably.
What is a microprocessor?
A microprocessor (MPU) is the central processing unit of a full computer. It needs external components — RAM, storage, a power management chip — to function. The Raspberry Pi is a single-board computer built around a microprocessor.
The Raspberry Pi runs a full operating system (usually Linux). This means you can run Python scripts, connect to Wi-Fi, display a desktop, run a web server, and do many other things simultaneously. The trade-off is that the operating system introduces timing unpredictability — you can’t guarantee that your code will run at exactly the right microsecond.
The clearest way to picture the difference is what’s inside the box: a microcontroller packs the processor, memory, and I/O onto one chip, while a microprocessor is just the processor and relies on separate chips for everything else.
  <text class="d-title" x="420" y="24" text-anchor="middle">Microprocessor</text>
  <rect class="d-fill-sky d-stroke-sky" stroke-width="2" x="360" y="70" width="120" height="50" rx="8"/>
  <text class="d-label-bold" x="420" y="100" text-anchor="middle">CPU</text>
  <rect class="d-box" x="320" y="160" width="90" height="40" rx="6"/>
  <text class="d-label-sm" x="365" y="185" text-anchor="middle">RAM</text>
  <rect class="d-box" x="430" y="160" width="90" height="40" rx="6"/>
  <text class="d-label-sm" x="475" y="185" text-anchor="middle">Storage</text>
  <line class="d-line" x1="400" y1="120" x2="365" y2="158" marker-end="url(#arrow-w02a)"/>
  <line class="d-line" x1="440" y1="120" x2="475" y2="158" marker-end="url(#arrow-w02a)"/>
  <defs>
    <marker id="arrow-w02a" markerWidth="9" markerHeight="9" refX="7" refY="4.5" orient="auto">
      <path d="M0,0 L9,4.5 L0,9 z" fill="#374151"/>
    </marker>
  </defs>
</svg>Comparing the two
| Feature | Arduino Uno | Raspberry Pi 5 |
|---|---|---|
| Type | Microcontroller | Microprocessor (SBC) |
| OS | None (bare metal) | Linux |
| Clock speed | 16 MHz | 2.4 GHz |
| RAM | 2 KB SRAM | 4–8 GB DRAM |
| Real-time control | Excellent | Limited |
| Camera support | No | Yes |
| Wi-Fi | No (without shield) | Yes |
| Power consumption | ~50 mA | ~600 mA+ |
| Cost | ~$25 | ~$60–80 |
| Programming | C/C++ (Arduino IDE) | Python, C++, etc. |
Which should you use?
The honest answer is: both, eventually. Most real robots use a microcontroller for low-level hardware control and a microprocessor for high-level decision-making.
For your first project, start with an Arduino. The simplicity forces you to understand what’s actually happening. Once you’re comfortable with hardware control, add a Raspberry Pi for the “brain” layer.
Setting up your Arduino
Getting started with Arduino is straightforward:
- Download the Arduino IDE
- Connect your Arduino Uno via USB
- Select your board: Tools > Board > Arduino AVR Boards > Arduino Uno
- Select your port: Tools > Port > (your USB port)
- Upload the “Blink” example: File > Examples > 01.Basics > Blink
If the built-in LED starts blinking, you’re up and running.
// The classic "Hello, World!" of hardware
void setup() {
  pinMode(LED_BUILTIN, OUTPUT);  // Set the built-in LED pin as output
}

void loop() {
  digitalWrite(LED_BUILTIN, HIGH);  // Turn LED on
  delay(1000);                       // Wait 1 second
  digitalWrite(LED_BUILTIN, LOW);   // Turn LED off
  delay(1000);                       // Wait 1 second
}
Next week, we’ll look at how to make things move — starting with motors and motor drivers.