Seeing the World: 3D Cameras vs 2D Cameras
What's the difference between a standard webcam and a depth camera? When does your robot need to see in 3D? This guide breaks down the options clearly.
Vision is one of the most powerful tools a robot can have. But “camera” covers a huge range of technologies, from a $10 USB webcam to a $1,000 time-of-flight sensor. Choosing the right one for your application is important — and not as complicated as it might seem.
2D Cameras: What They See
A standard camera captures a 2D image: a grid of pixels, each with a color value. What it cannot tell you is how far away anything is. A tennis ball 1 meter away and a tennis ball 5 meters away look identical in a 2D image (just different sizes), and the camera has no way to know the difference.
This is fine for many tasks:
- Object detection and classification (“is there a person in this frame?”)
- Line following (a robot that follows a line on the floor)
- Color-based sorting
- Reading QR codes or ArUco markers
- Face detection
For these tasks, a USB webcam or a Raspberry Pi Camera Module is perfectly adequate and costs $10–30.
Getting Started with OpenCV
The standard library for computer vision in Python is OpenCV. Here’s a minimal example that captures frames and detects edges:
import cv2

cap = cv2.VideoCapture(0)  # 0 = first USB camera

while True:
    ret, frame = cap.read()
    if not ret:
        break

    # Convert to grayscale and detect edges
    gray = cv2.cvtColor(frame, cv2.COLOR_BGR2GRAY)
    edges = cv2.Canny(gray, 50, 150)

    cv2.imshow('Original', frame)
    cv2.imshow('Edges', edges)

    if cv2.waitKey(1) & 0xFF == ord('q'):
        break

cap.release()
cv2.destroyAllWindows()
3D Cameras: Adding Depth
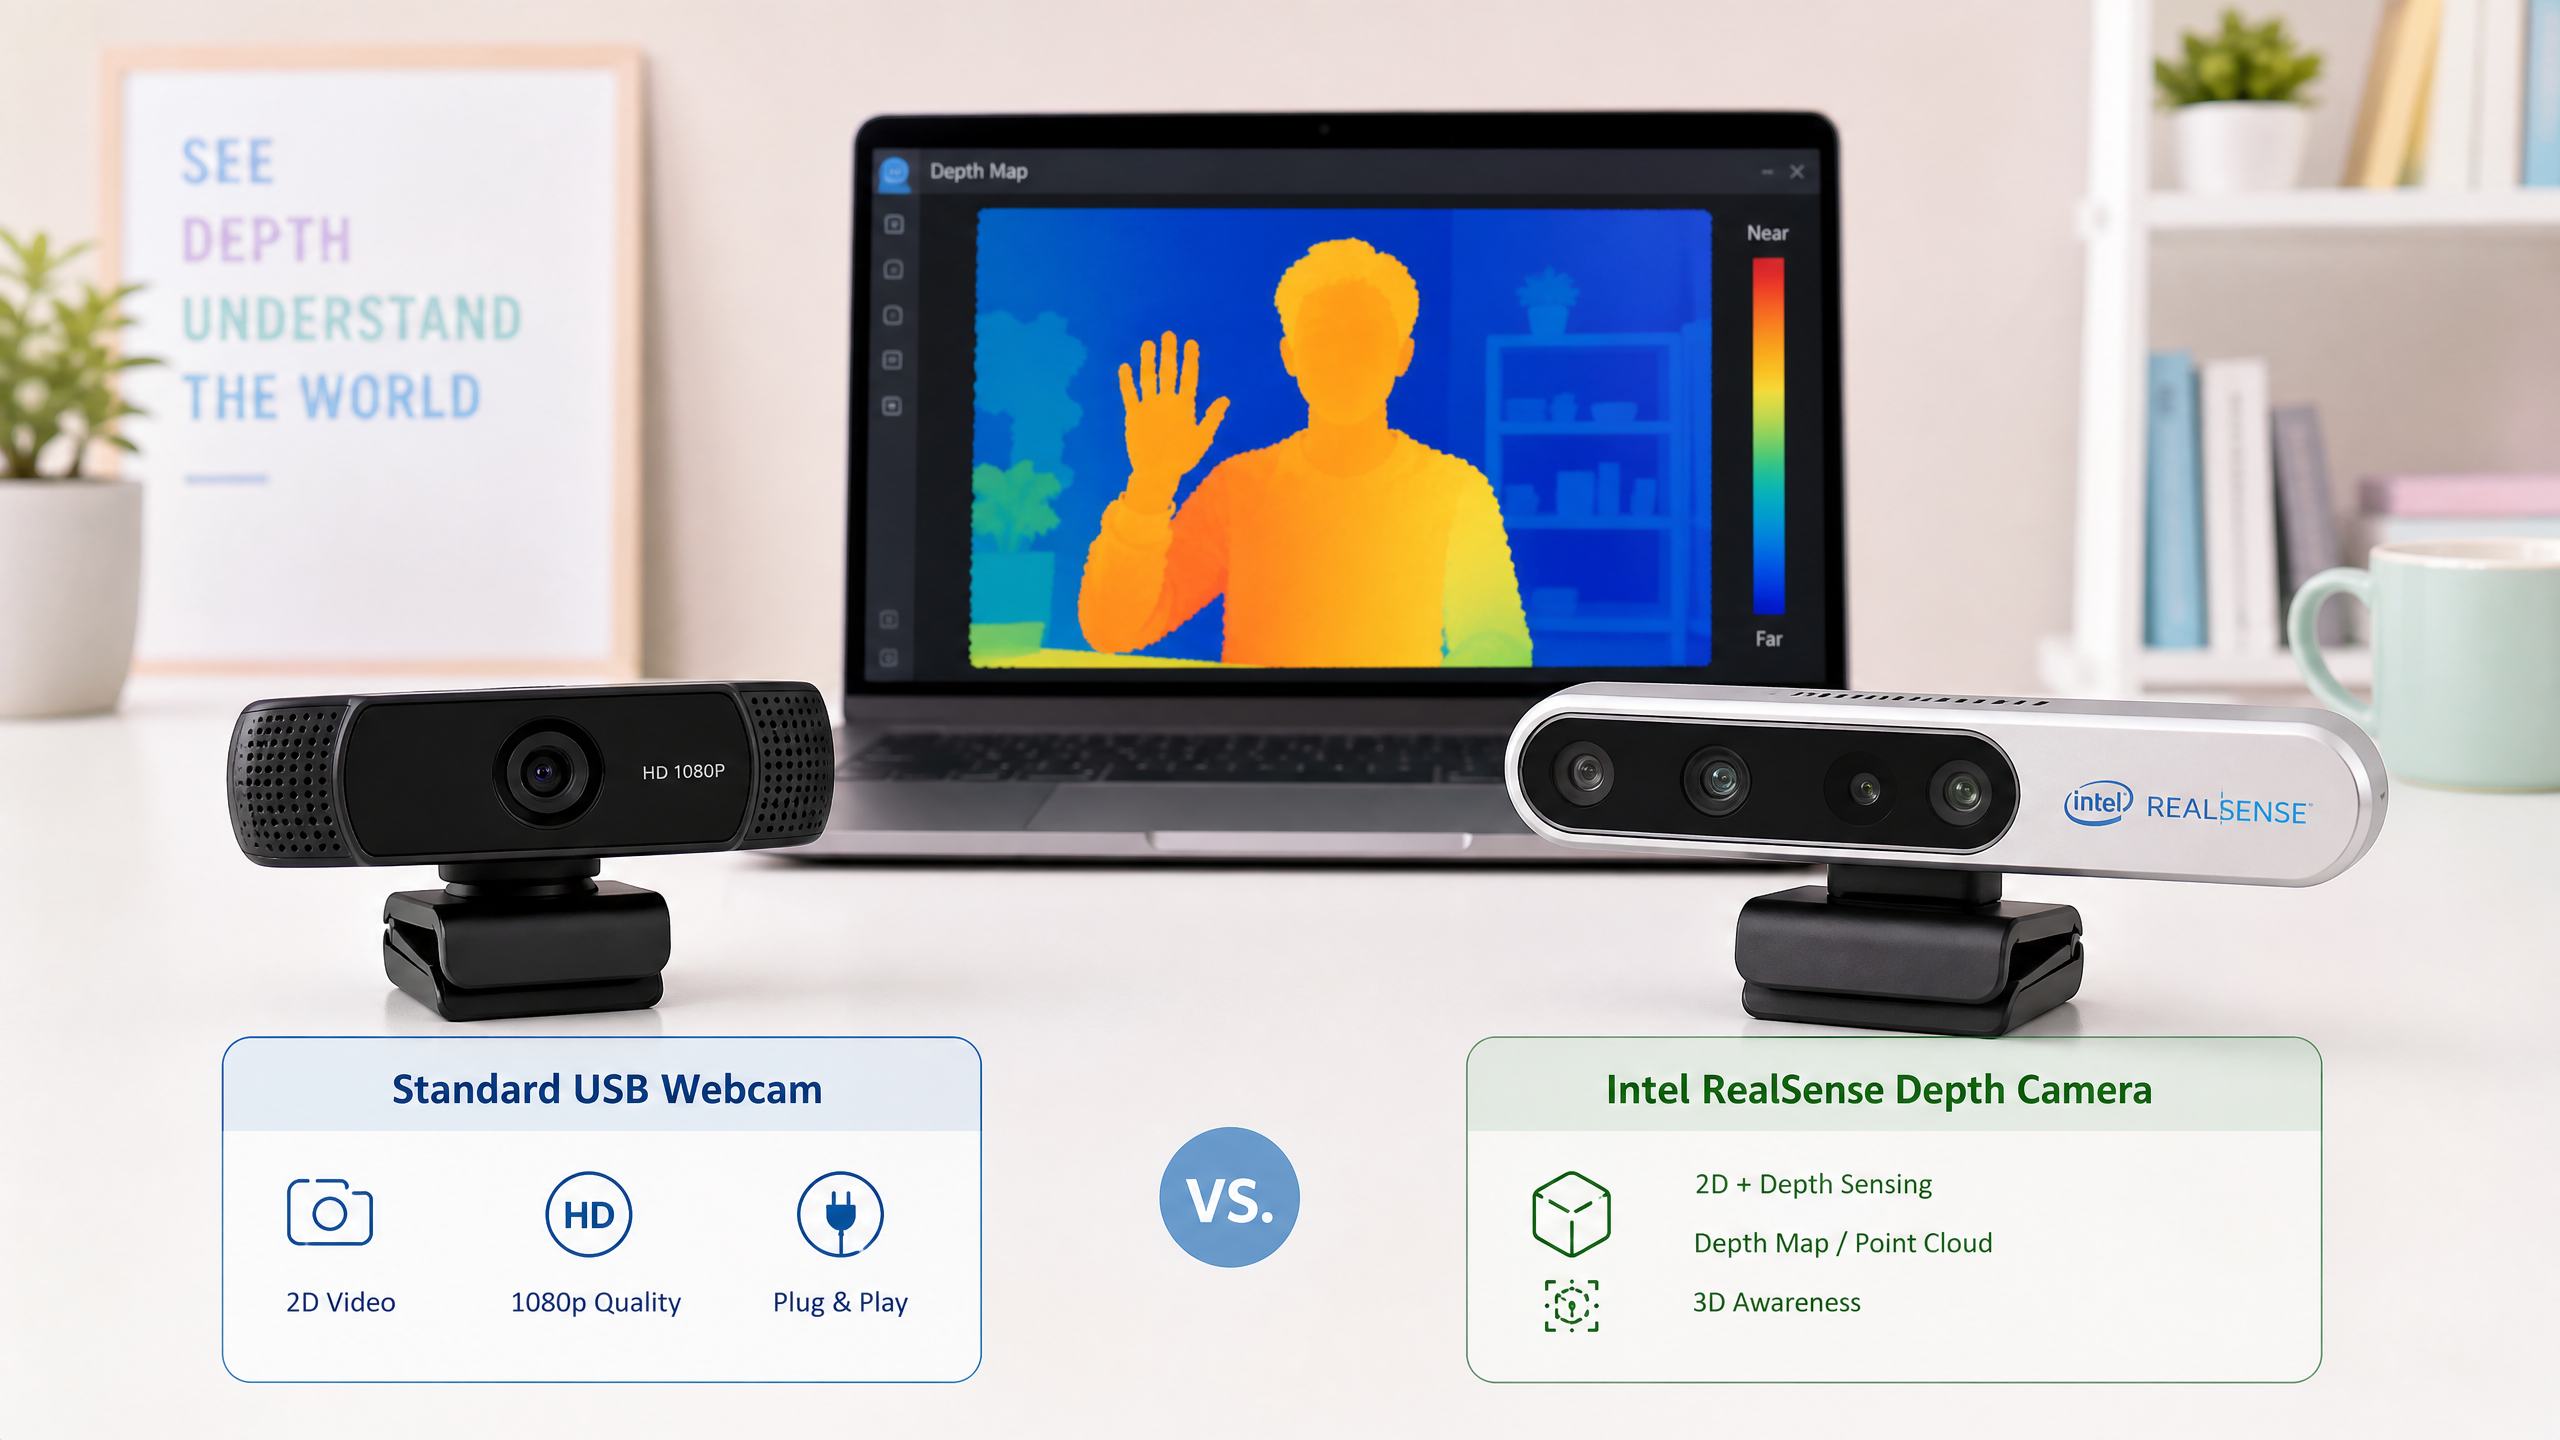
A 3D camera (also called a depth camera or RGB-D camera) produces a depth map in addition to a color image. Each pixel in the depth map contains a distance measurement — how far away that point in the scene is from the camera.
The quick way to see the difference: a 2D camera knows what and where in the frame, but a depth camera also knows how far.
| 2D camera | Depth (3D) camera | |
|---|---|---|
| Per-pixel data | Color only | Color + distance |
| Knows distance? | No | Yes |
| Good for | Detection, line following, markers | Obstacle avoidance, grasping, 3D mapping |
| Typical cost | $10–30 | $150–600 |
| Works in sunlight? | Yes | Depends on technology |
This opens up entirely new capabilities:
- Obstacle avoidance (knowing exactly how far away obstacles are)
- 3D mapping and navigation (building a map of the environment)
- Grasping objects (a robot arm needs to know where in 3D space an object is)
- Person tracking (following someone while maintaining a safe distance)
How Depth Cameras Work
There are three main technologies:
Structured Light (e.g., the original Microsoft Kinect v1, Orbbec Astra) Projects a known pattern of infrared light onto the scene. A separate IR camera captures the distorted pattern, and the distortion reveals depth. Works well indoors but struggles in bright sunlight. (Note: Intel’s RealSense D-series — D415, D435 — are stereo cameras, not structured light, even though they include an IR projector to add texture.)
Time-of-Flight (ToF) (e.g., Microsoft Azure Kinect) Emits pulses of infrared light and measures how long they take to return. Very fast and works in more lighting conditions, but can struggle with highly reflective or transparent surfaces. (Intel’s RealSense L515 was a popular solid-state LiDAR camera that worked on this principle, but it has since been discontinued.)
Stereo Vision (e.g., Intel RealSense D435, ZED Camera) Uses two cameras separated by a known distance (like human eyes). Computes depth by finding the same point in both images and measuring the disparity. Works outdoors, no active illumination needed.
Comparison Table
| Feature | USB Webcam | Intel RealSense D435 | ZED 2 |
|---|---|---|---|
| Type | 2D RGB | Stereo + IR | Stereo |
| Depth range | None | 0.1–10 m | 0.2–20 m |
| Depth accuracy | N/A | ~2% at 2m | ~1% at 2m |
| Outdoor use | Yes | Limited | Yes |
| ROS2 support | Yes | Yes | Yes |
| Cost | $10–30 | $150–200 | $450–600 |
| Weight | ~80g | ~72g | ~166g |
Getting Started with Intel RealSense
The Intel RealSense D435 is the most popular depth camera for robotics beginners. Here’s how to get a depth frame in Python:
import pyrealsense2 as rs
import numpy as np
import cv2

# Configure streams
pipeline = rs.pipeline()
config = rs.config()
config.enable_stream(rs.stream.depth, 640, 480, rs.format.z16, 30)
config.enable_stream(rs.stream.color, 640, 480, rs.format.bgr8, 30)

pipeline.start(config)

try:
    while True:
        frames = pipeline.wait_for_frames()
        depth_frame = frames.get_depth_frame()
        color_frame = frames.get_color_frame()

        if not depth_frame or not color_frame:
            continue

        # Convert to numpy arrays
        depth_image = np.asanyarray(depth_frame.get_data())
        color_image = np.asanyarray(color_frame.get_data())

        # Apply colormap to depth image for visualization
        depth_colormap = cv2.applyColorMap(
            cv2.convertScaleAbs(depth_image, alpha=0.03),
            cv2.COLORMAP_JET
        )

        # Get distance at center pixel
        cx, cy = 320, 240
        distance = depth_frame.get_distance(cx, cy)
        print(f"Distance at center: {distance:.2f} m")

        cv2.imshow('Color', color_image)
        cv2.imshow('Depth', depth_colormap)

        if cv2.waitKey(1) & 0xFF == ord('q'):
            break
finally:
    pipeline.stop()
Which Should You Choose?
Start with a 2D camera if:
- You’re doing object detection, line following, or marker tracking
- You’re working on a budget
- Your robot operates in a structured environment where depth isn’t needed
Use a depth camera if:
- Your robot needs to navigate autonomously in an unstructured environment
- You’re building a robot arm that needs to grasp objects
- You need to build a 3D map of the environment (SLAM)
- You’re working on human-robot interaction
For most beginners, start with a USB webcam and OpenCV. Once you’ve built something that works with 2D vision, adding depth is a natural next step.
Next week, we’ll explore reinforcement learning frameworks — the software tools that let you train robots to learn behaviors from experience.